DIY
Doing builder gel at home, safely
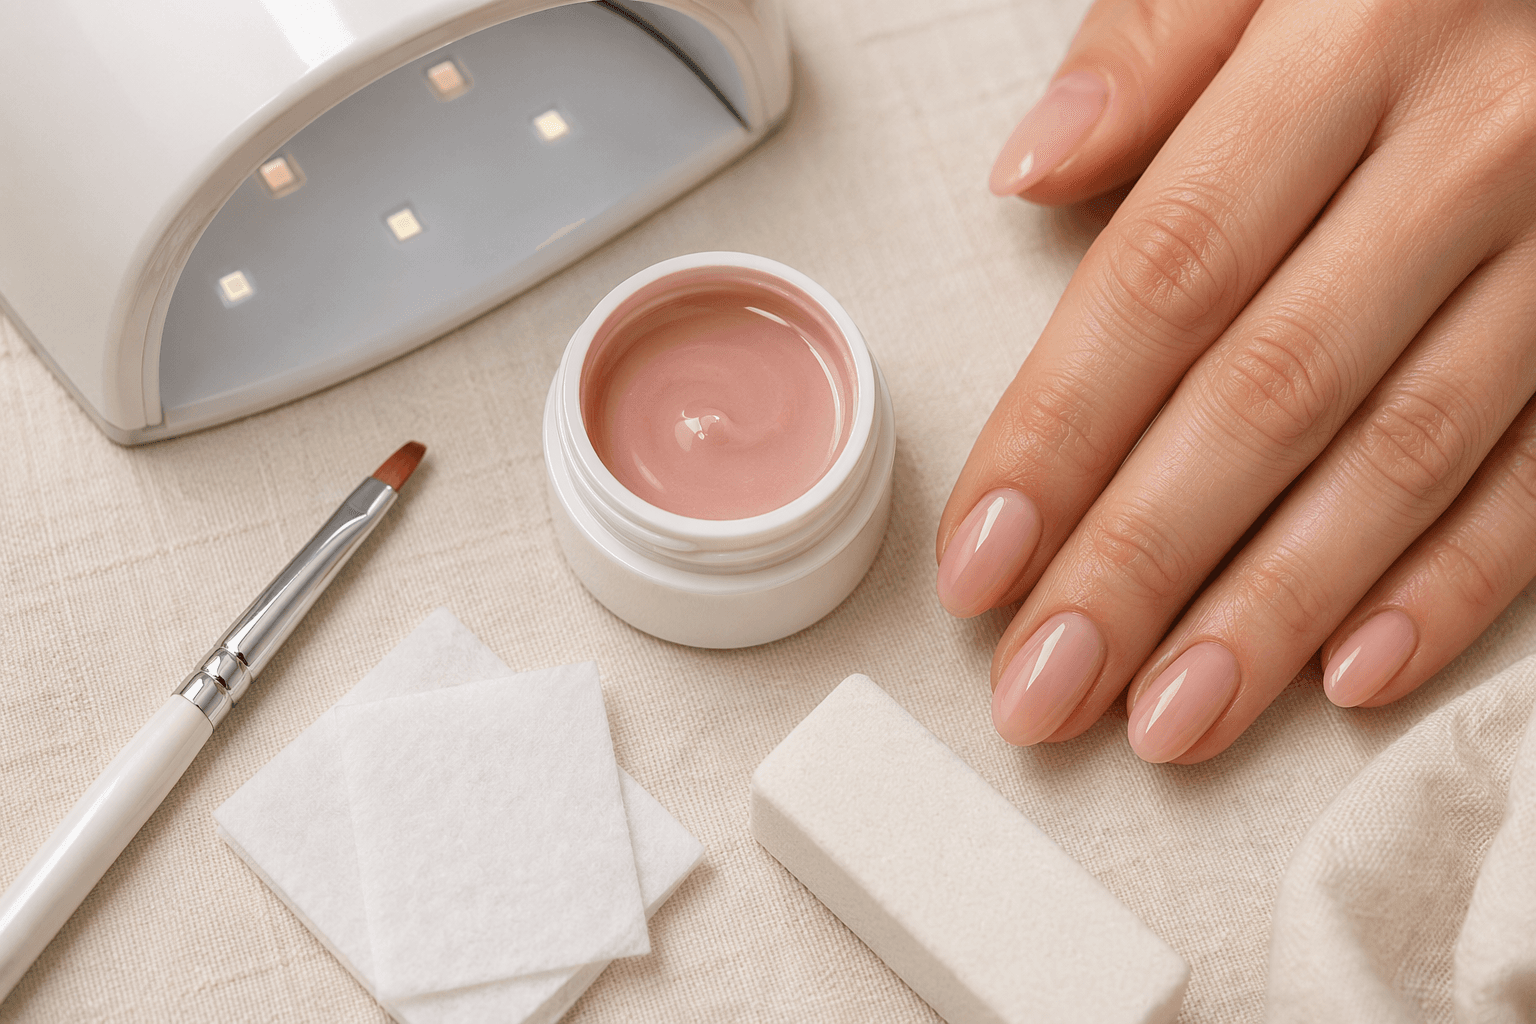
Builder gel rewards a careful hand and an on-spec lamp. These guides assume soft builder gel as an overlay on natural nails, not full extensions on forms. Every step includes the boundaries where you should stop and book a professional instead.
Before you start: DIY prerequisites
DIY builder gel is not like painting your nails at home. Three conditions should be met before you open a gel pot:
- 1Compatible lamp. Use a UV/LED lamp that matches the gel brand’s specified wattage and wavelength. Under-curing is the leading cause of allergy and lifting. A generic lamp that “looks right” is not enough.
- 2Healthy, intact natural nails. Do not apply builder gel over damaged, infected, lifted, or painful nails. If your nail bed is red, swollen, or separated from the plate, see a doctor first, not a gel pot.
- 3Soak-off products only. Hard builder gels require e-file removal and are not suitable for beginners. Confirm the bottle or pot is labelled “soak-off” before purchasing.
Stop and book a pro if
These are the absolute boundaries where DIY should end and a trained nail technician should take over:
- ✕ Gel remains sticky after the brand’s specified cure time. Your lamp is likely under-spec.
- ✕ Redness, itching or swelling appears around any nail within 48 hours of application.
- ✕ The gel lifts at the cuticle within the first week. Prep or product compatibility is the issue.
- ✕ You are tempted to peel the gel off. Book a soak-off removal instead.
- ✕ Your natural nail plate is thin, flexible or has a history of damage from previous enhancements.